- From your Elementor Dashboard, go to Websites, and in your website’s card, click the Manage This Website button. The Site Details screen opens.
- Scroll down to the Manage Domains section and click Connect my domain.
- In the popup window, enter the custom domain name you purchased. Use the domain name without www in front of it.
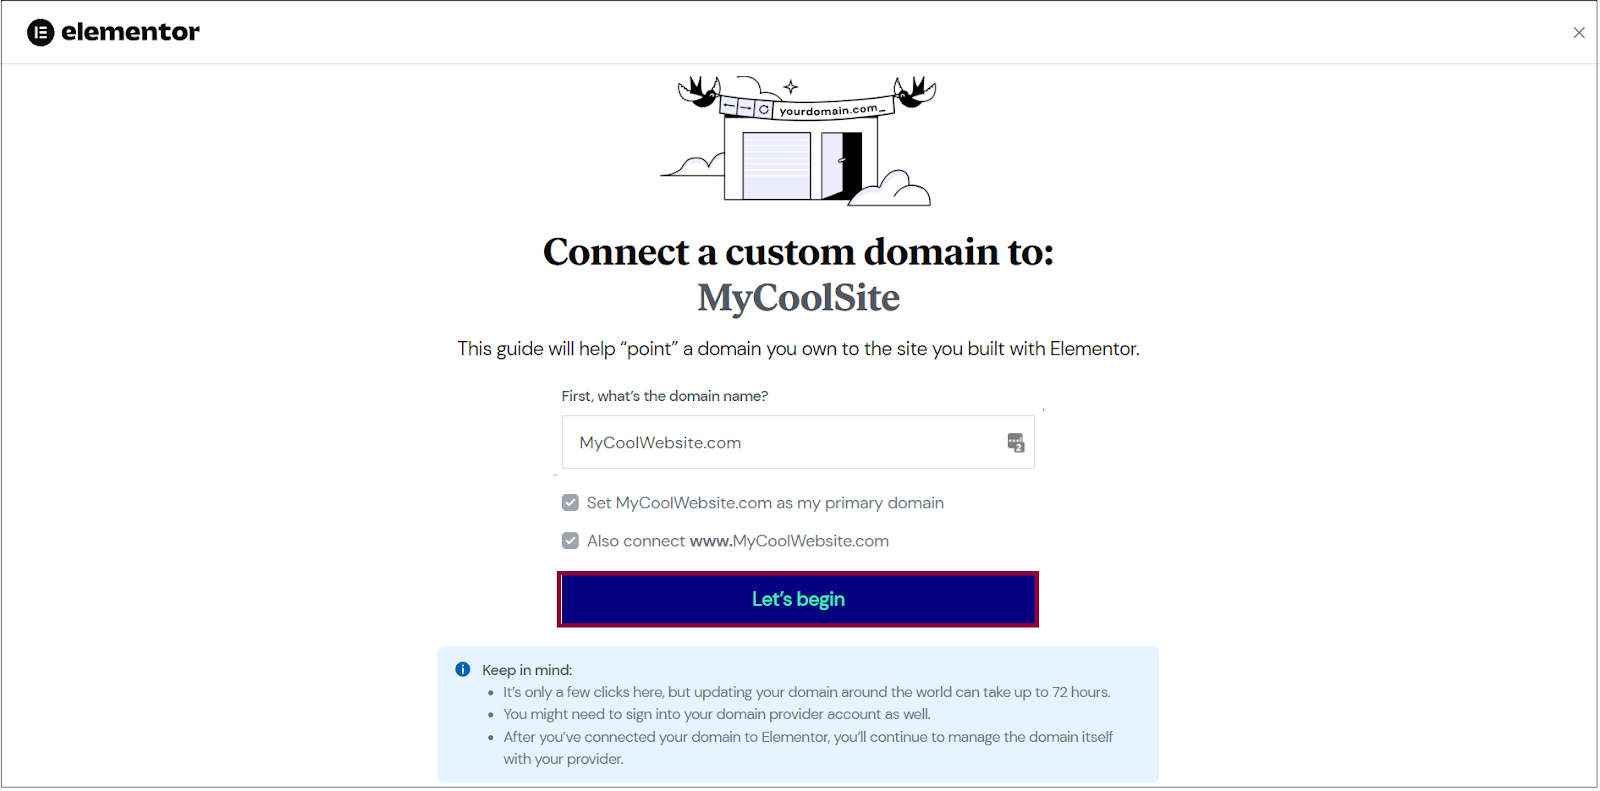
By default, the system uses the name you entered as the primary domain and will connect the name with www in front of it. (e.g. mysite.com will be the primary domain, and www.mysite.com will also be connected.)
Edit the domain name settings with your provider
- If the default checkboxes are okay, click Let’s begin.

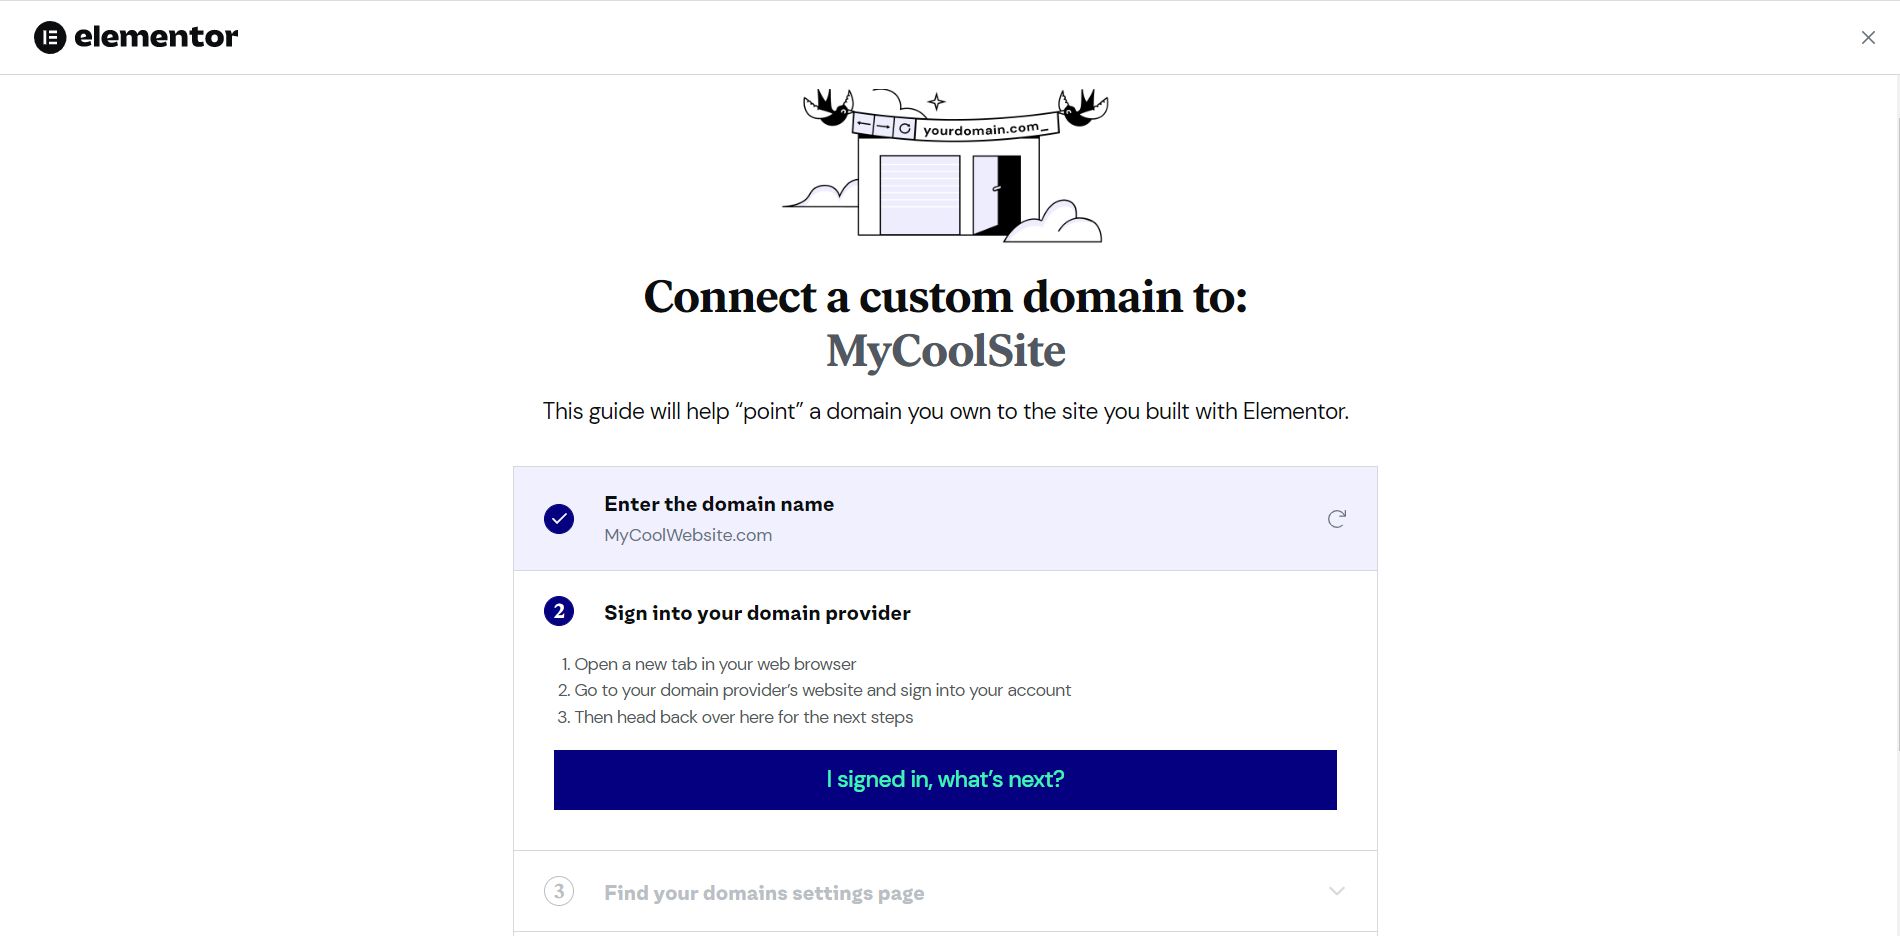
- Open a new tab in your browser, and if you haven’t already, sign into your domain provider.
- Once signed in, go back to the Elementor tab and click I signed in, what’s next?
Add the DNS records
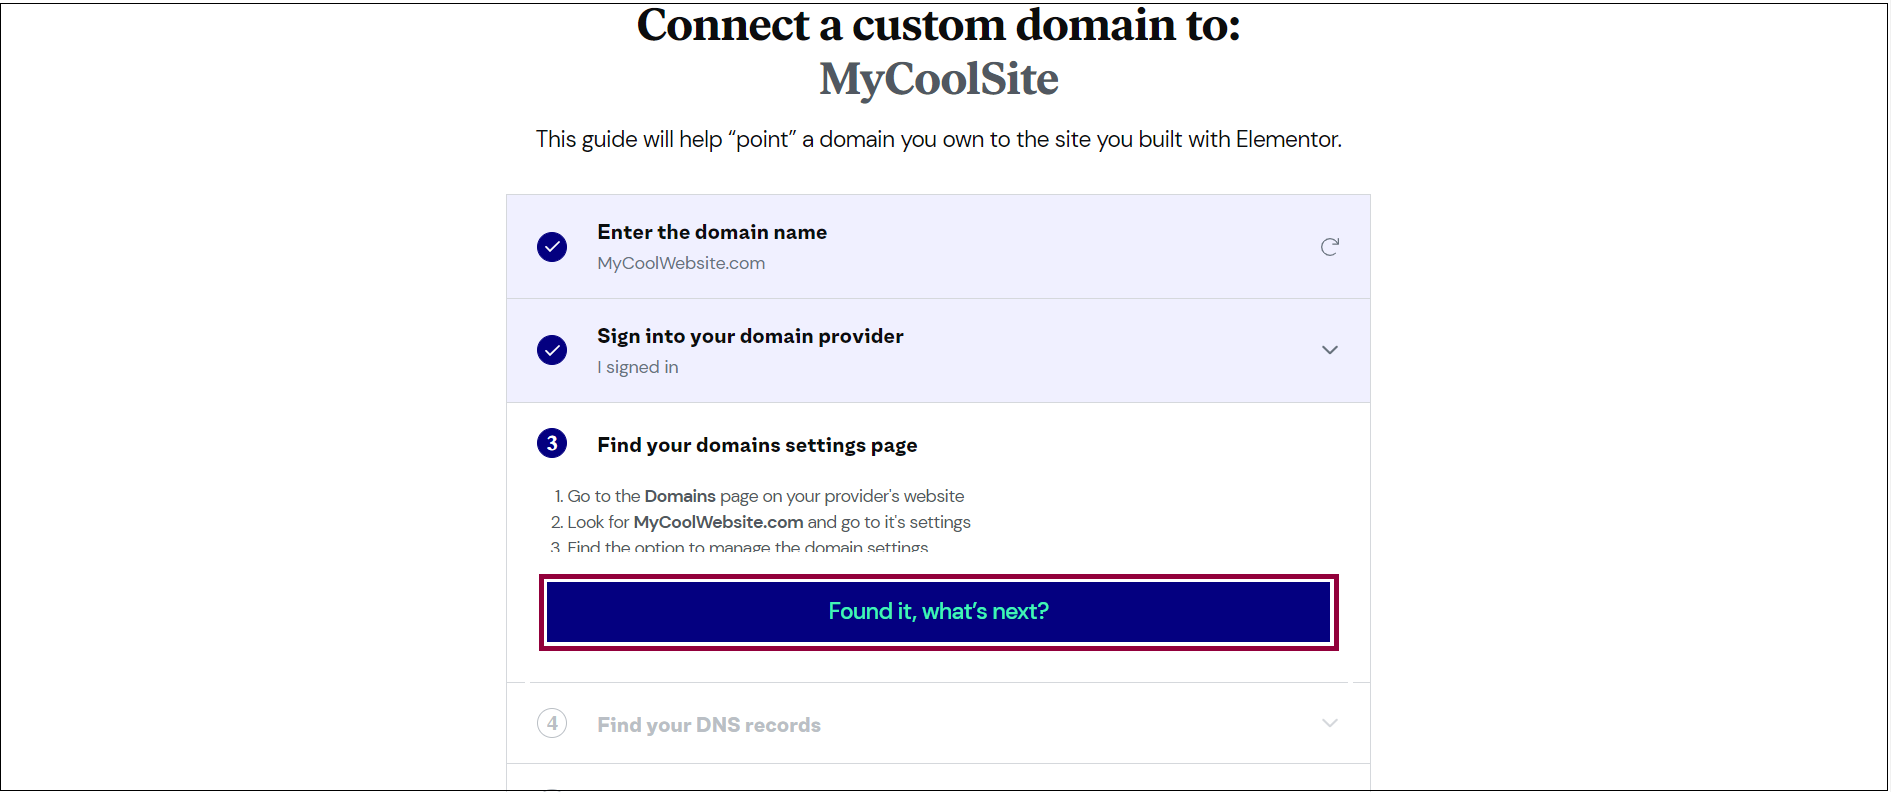
- Go to your domains page on your domain provider’s website, and navigate to the domain you want to use for your Elementor static website
- Navigate to the domain’s DNS settings.
- Now that you’ve found your domain settings, go back to the Elementor tab, and click Found it, what’s next?
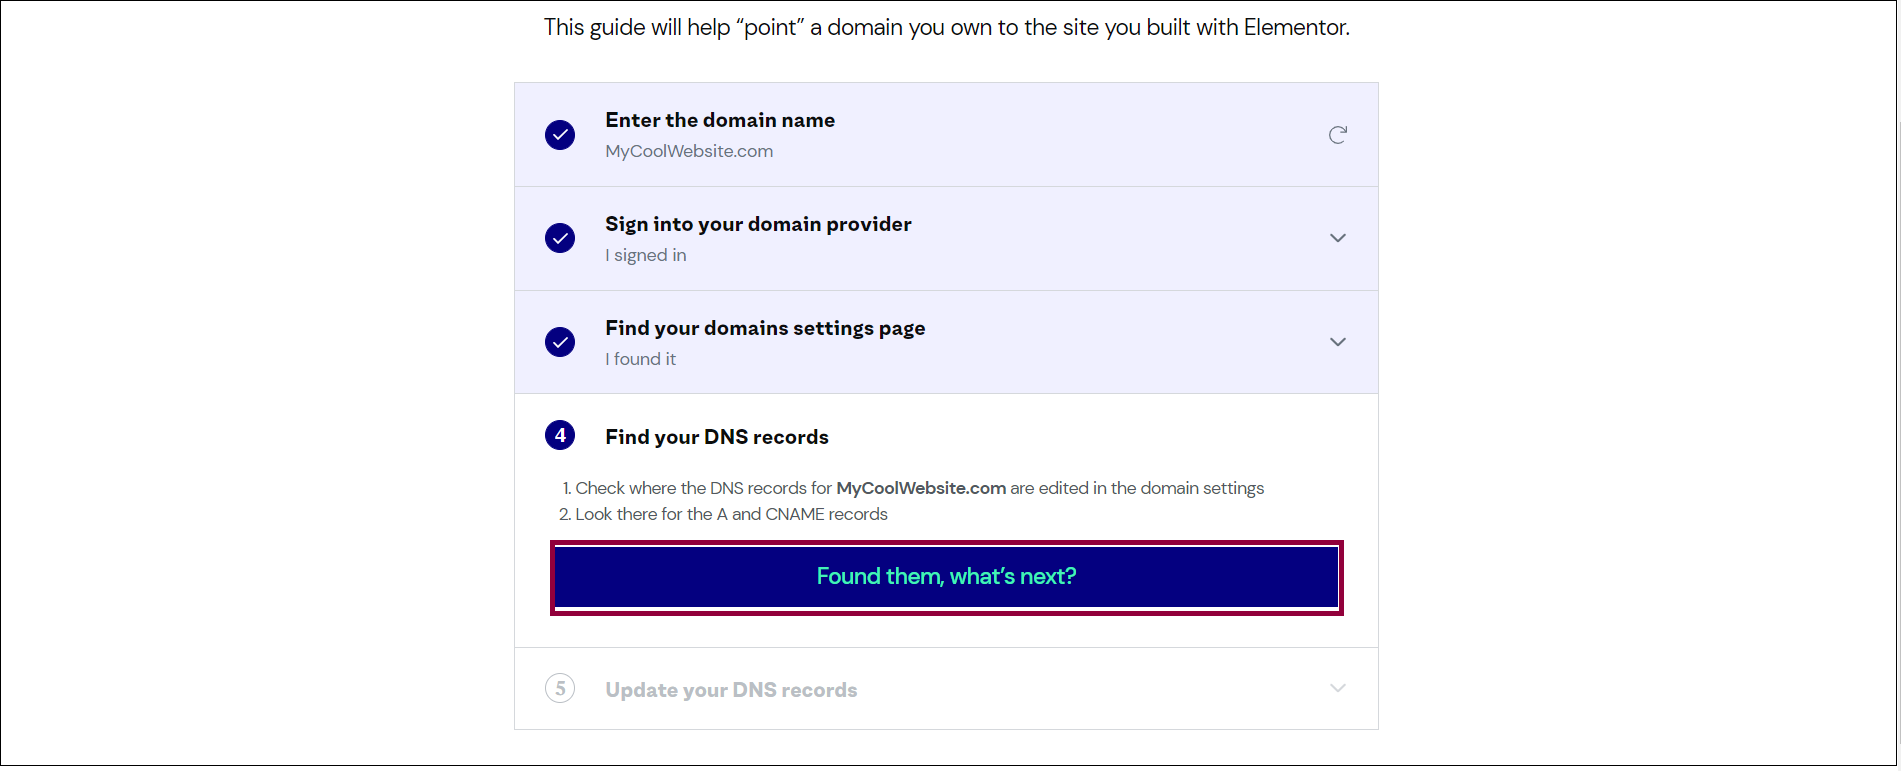
- Locate where you can create or edit your DNS records for your domain. Once you’ve located the records, go back to the Elementor tab and click Found them, what’s next?
You can now access the A, AAAA and CNAME records of your Elementor static website. - In the Update your DNS records section, under A record, AAAA record and/or CNAME value, click the copy icon to copy the A record, AAAA record or CNAME from the Elementor tab.
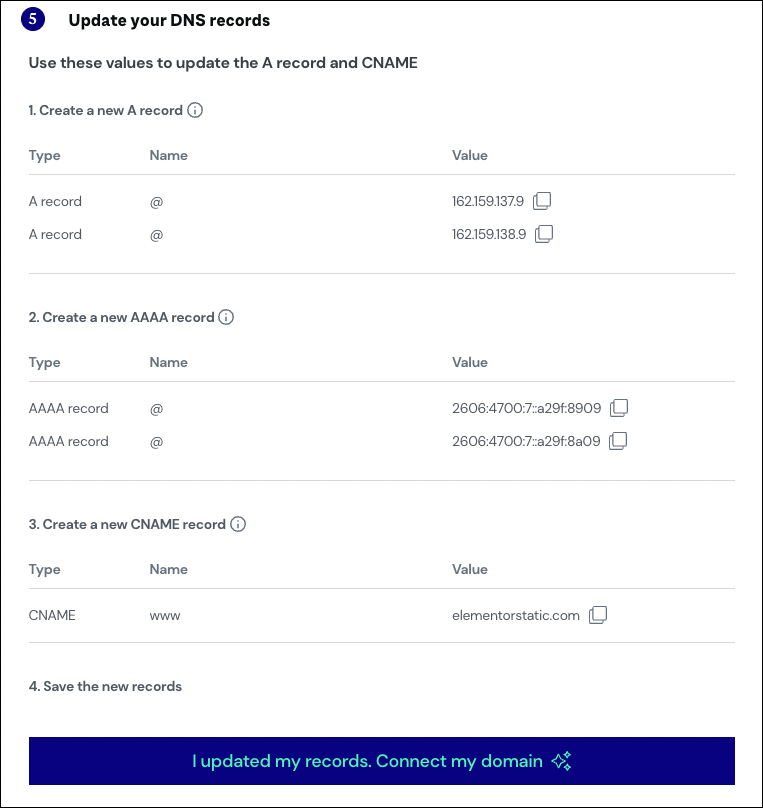
- In your domain provider tab, under the DNS settings, create new records for the two A records, two AAAA records and CNAME record provided in your Elementor DNS records section.
Finishing up
- Go back to the Elementor tab.
- Click I updated my records. Connect my domain.
What’s next?
- Wait for the DNS changes to propagate (this can take up to 72 hours).
- We’ll issue an SSL certificate for your website.
- When your domain is ready, we’ll notify you by email.