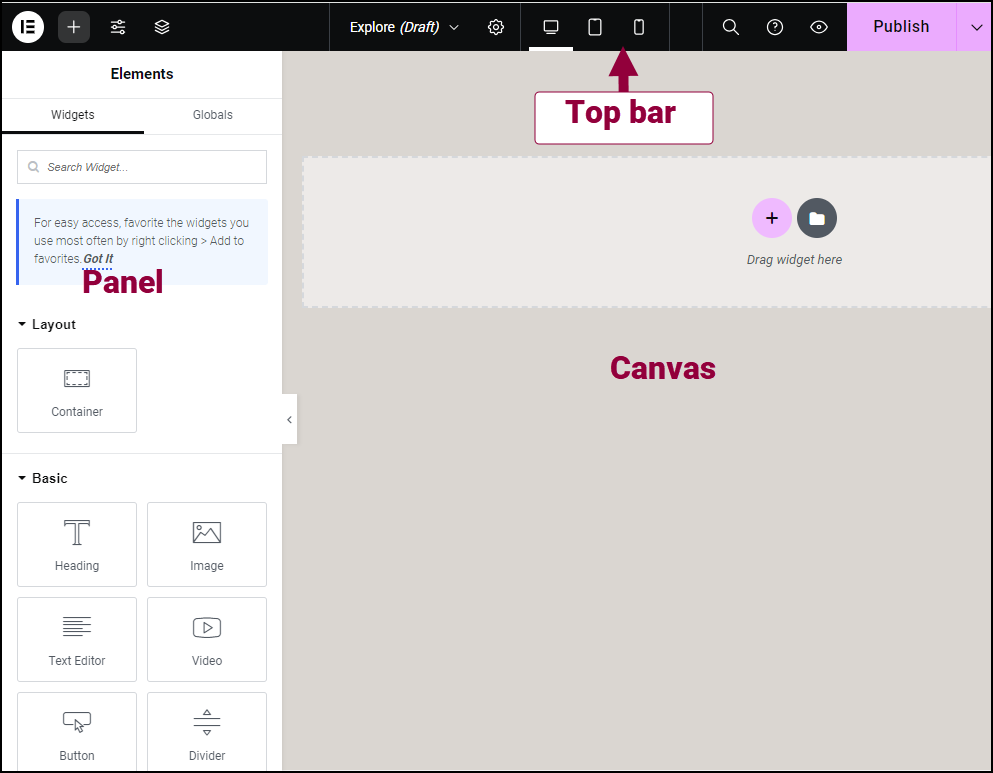
Whether you’re building your site from scratch or using one of our website kits, you’ll need to learn how to use the Elementor Editor. We’ll start by going over the basic layout of the editor.
This is where you’ll find the tools and settings you need to build and customize your page. For more details about the options available from the top bar, see, Elementor Top Bar.
The panel is where you’ll find the design elements, such as containers, and widgets, such as the Heading widget, used to build your page. For more details about moving elements from the panel to the canvas, see Add elements to a page.
The panel is also where you adjust the settings for elements, pages and the site.
The canvas is also known as the Content Area. This is where you’ll create your page/post/site part.
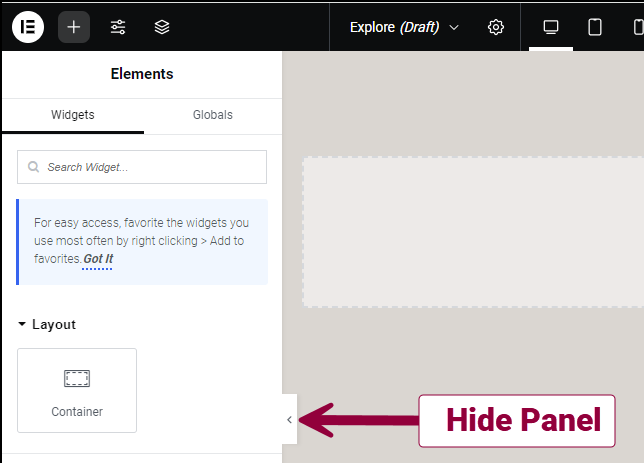
If you want to increase canvas width, click the Hide Panel arrow to add more space.
There are different views you can use when working on pages. For more details about these different views, see Change canvas views.
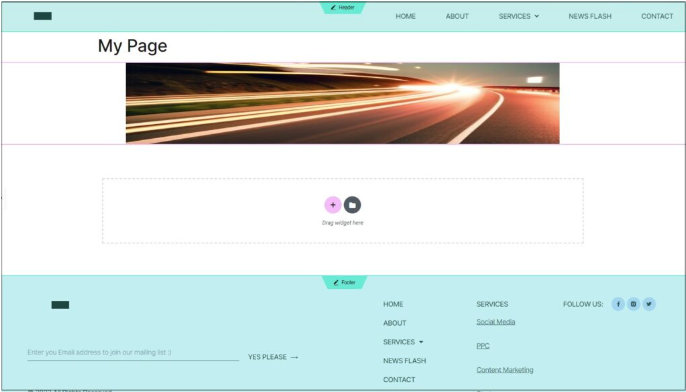
If the page header and footer appear on your canvas, their color changes when you hover over them.
Click inside either the header or footer, to switch from editing the page to editing that site part.
Click the page area to return to editing that page. You are prompted to save before switching.
- On the canvas, click the + icon.
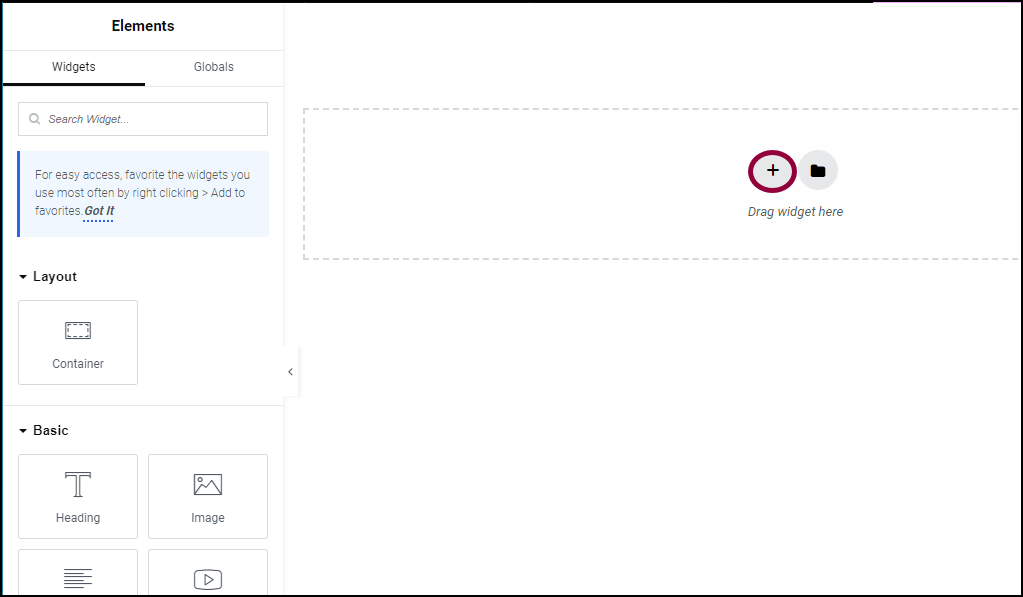
You can now select a container layout.
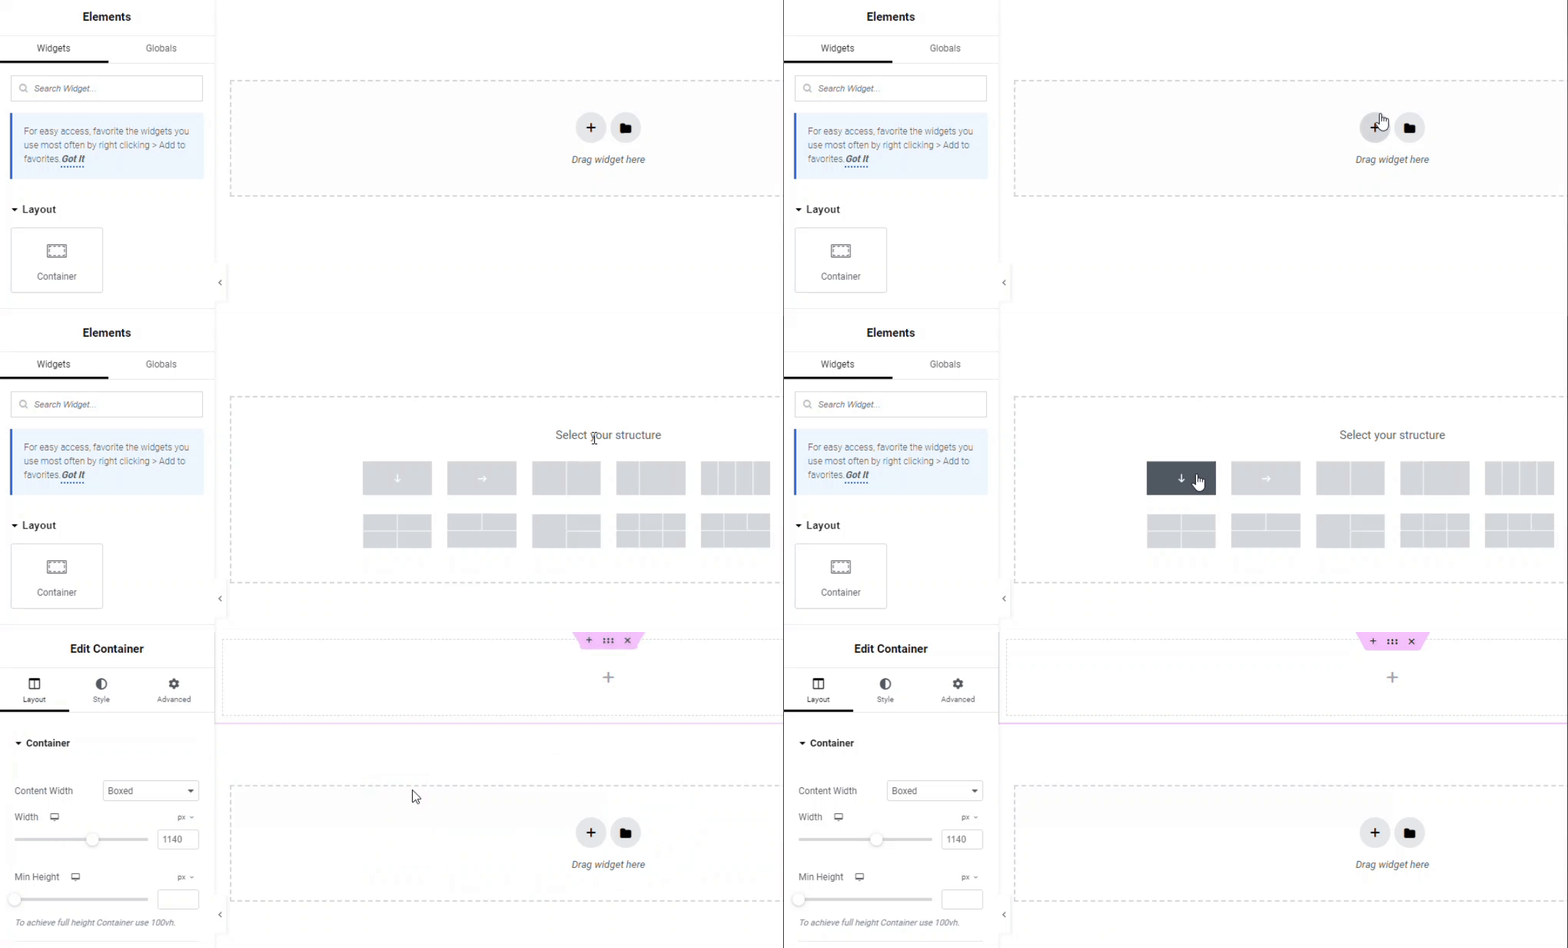
- Choose the first container layout. This will create one container with a vertical layout.
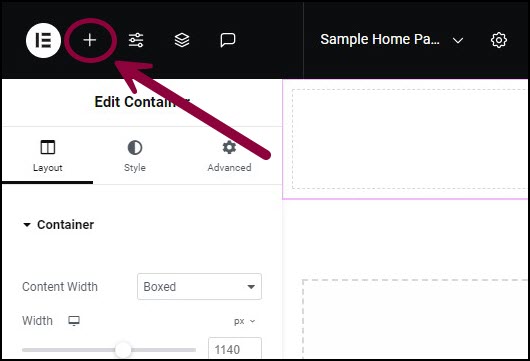
- On the top bar, click the plus icon.
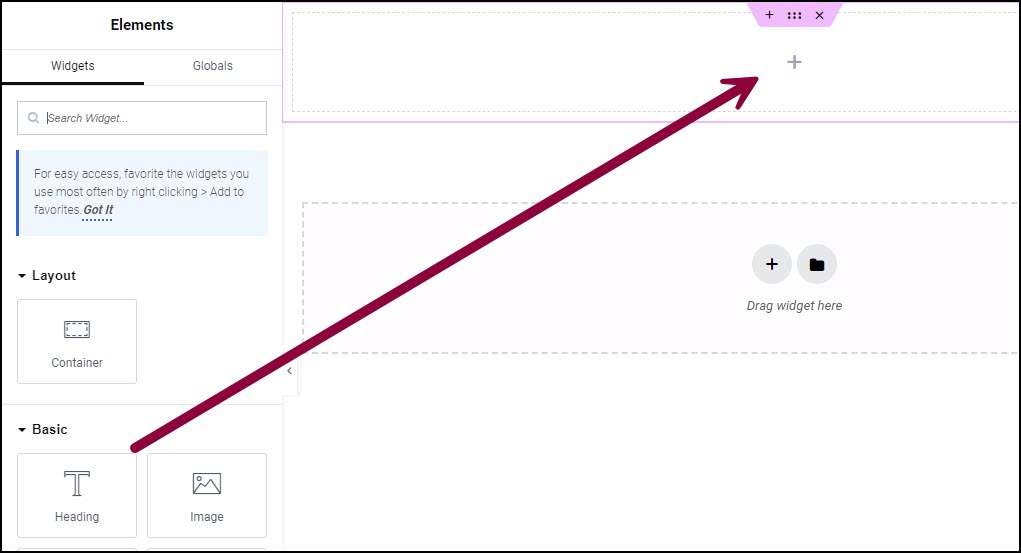
- From the panel, drag the Heading widget to the new containers.
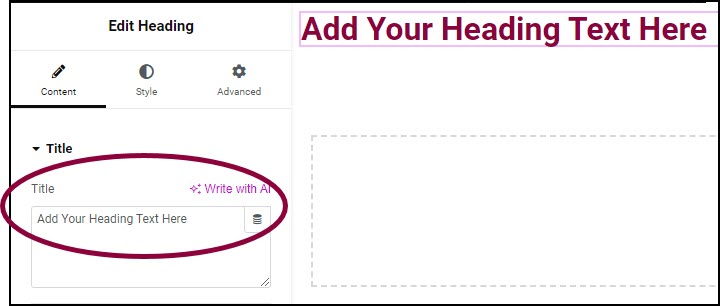
- In the panel, in the title field, add the text; My first container.
To edit a container:
- Click the settings icon
 in the container tab.
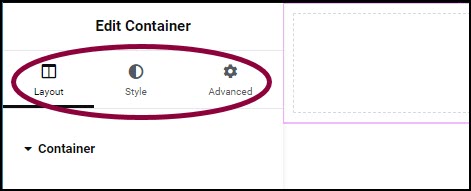
The container settings menu opens in the panel with three tabs: Layout, Style and Advanced.
To edit a widget: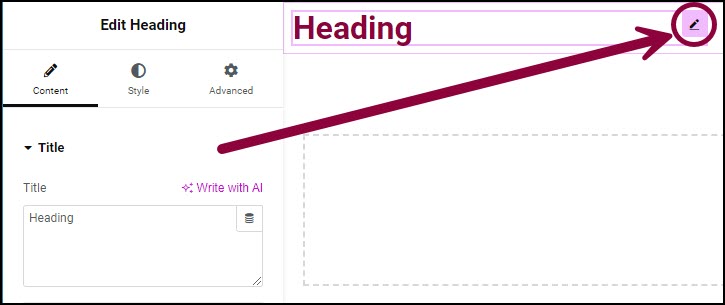
Click the widget handle.
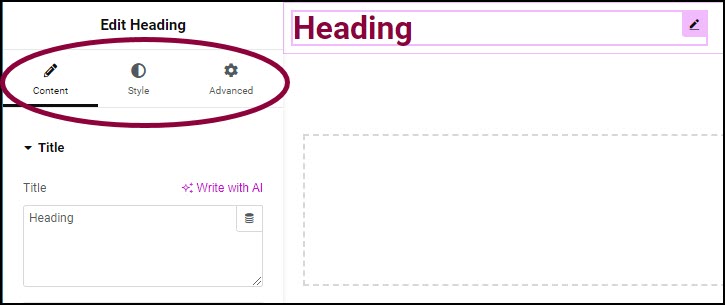
The widget settings menu opens in the panel with three tabs: Content, Style and Advanced.
