Add the widget to the canvas
- In Elementor Editor, click +.
All available widgets are displayed. - Click or drag the widget to the canvas. For more information, see Add elements to a page.
The Icon List widget allows you to create a list where each item has an icon alongside text. You can choose from a library of pre-designed icons or upload your own custom icons.
You can customize the size, color, and alignment of the icons and text, as well as the spacing between items. These options let you create lists that perfectly match your website’s design.
Ana is building a membership website for a yoga studio. They want to showcase the benefits of each membership tier in a visually appealing way.
To showcase this, Ana creates a list with icons representing features like unlimited classes, exclusive workshops, and personalized coaching.
Ana also customizes the colors and sizes of the icons to match the website’s theme, creating an eye-catching and informative display that helps visitors understand the value of each membership level at a glance.
- Display product features on an e-commerce website.
- Highlight key services offered by a business.
- Showcase amenities at a hotel or resort.
- Present benefits of a subscription or membership.
See a video demonstrating the widget in action.
- Add the Icon List widget to the canvas. For details, see Add elements to a page.
- In the Content tab, under Icon List, from the Layout option, choose Default or Inline layout. Default displays items in a vertical list, while Inline displays items horizontally.

- The Icon List widget comes with three default list items. You can delete default items and add additional items to the list.
- Click on the Add Item button to add an item to the list.
- To duplicate or delete items, click on the item’s Duplicate or Delete
 icon.
icon.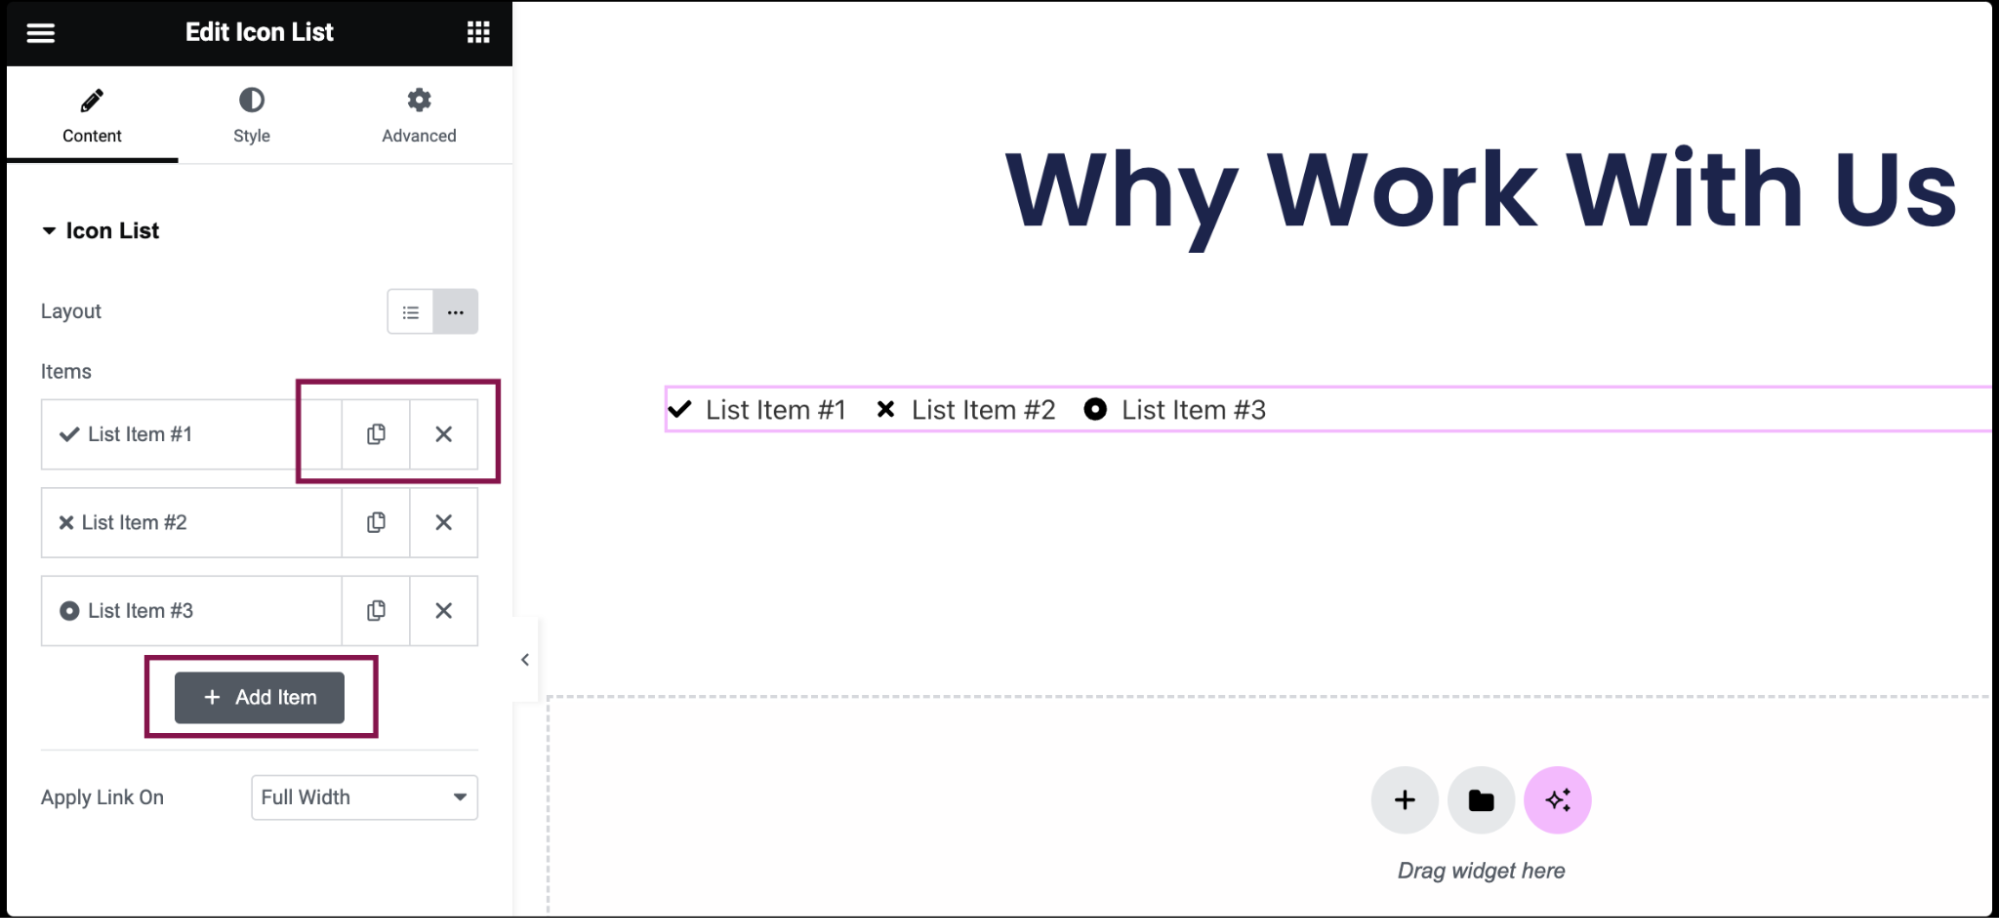
- Click on the individual item to open its customization settings.
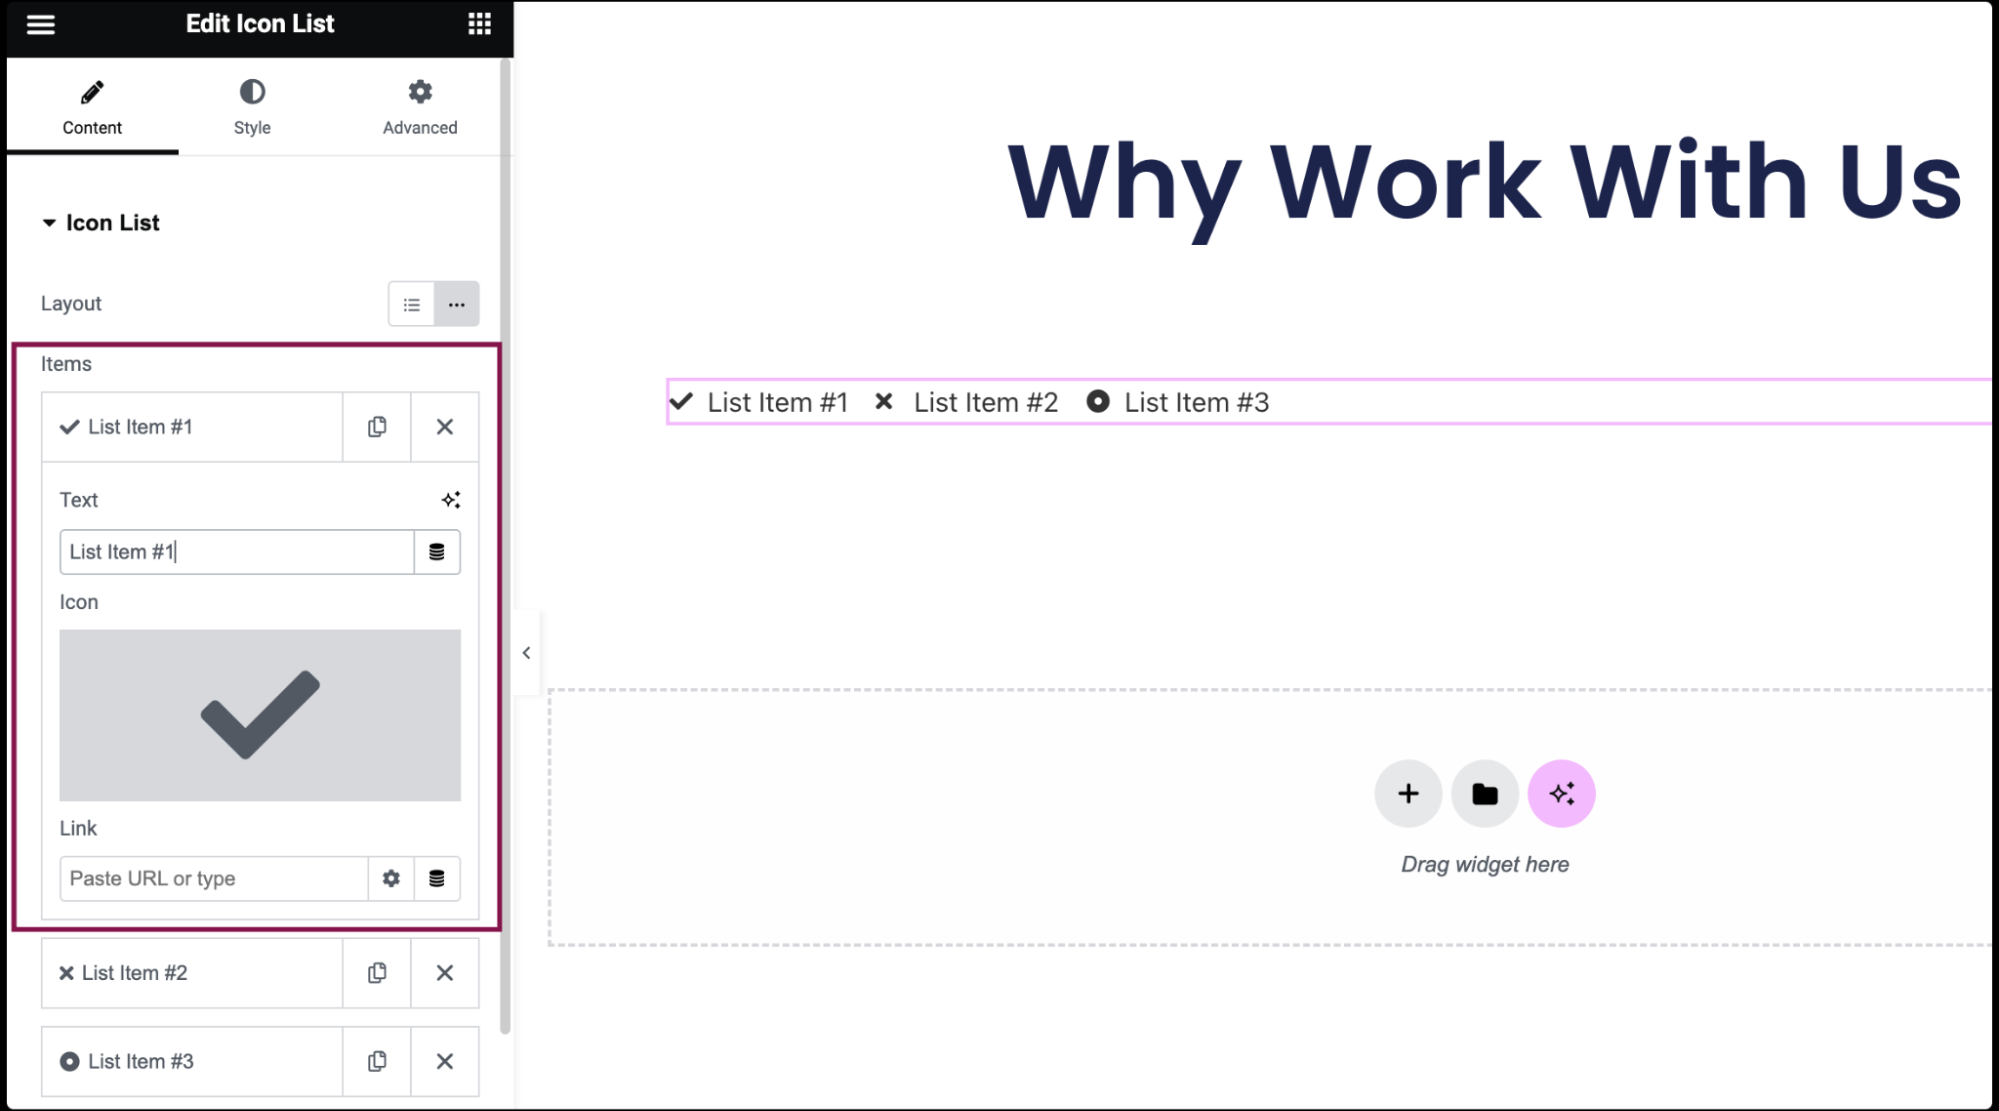
- In the Text field, enter the list item’s text.
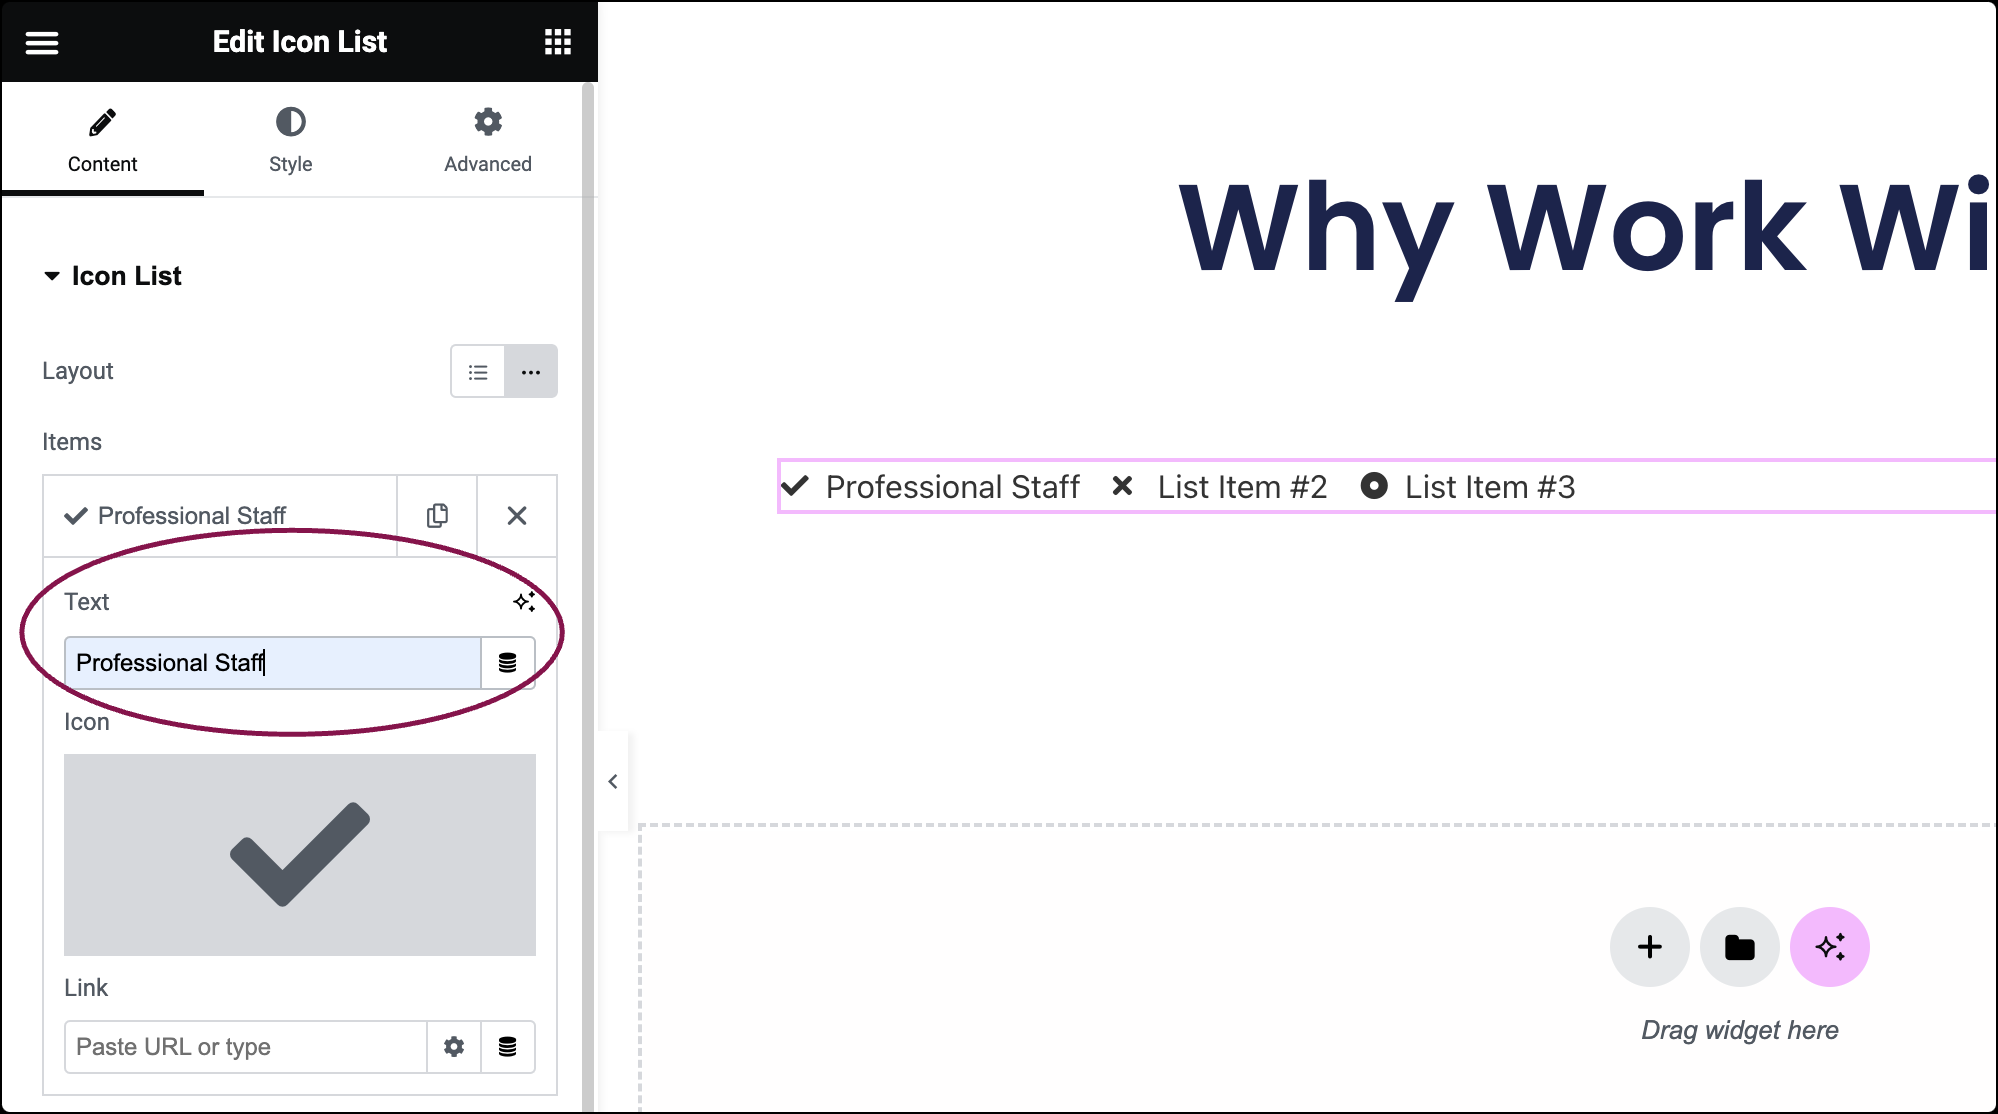
- In the Icon field, select the icon for the item. You can choose an icon from the Icon Library or upload an SVG. For more details, see Enable SVG Support in Elementor.
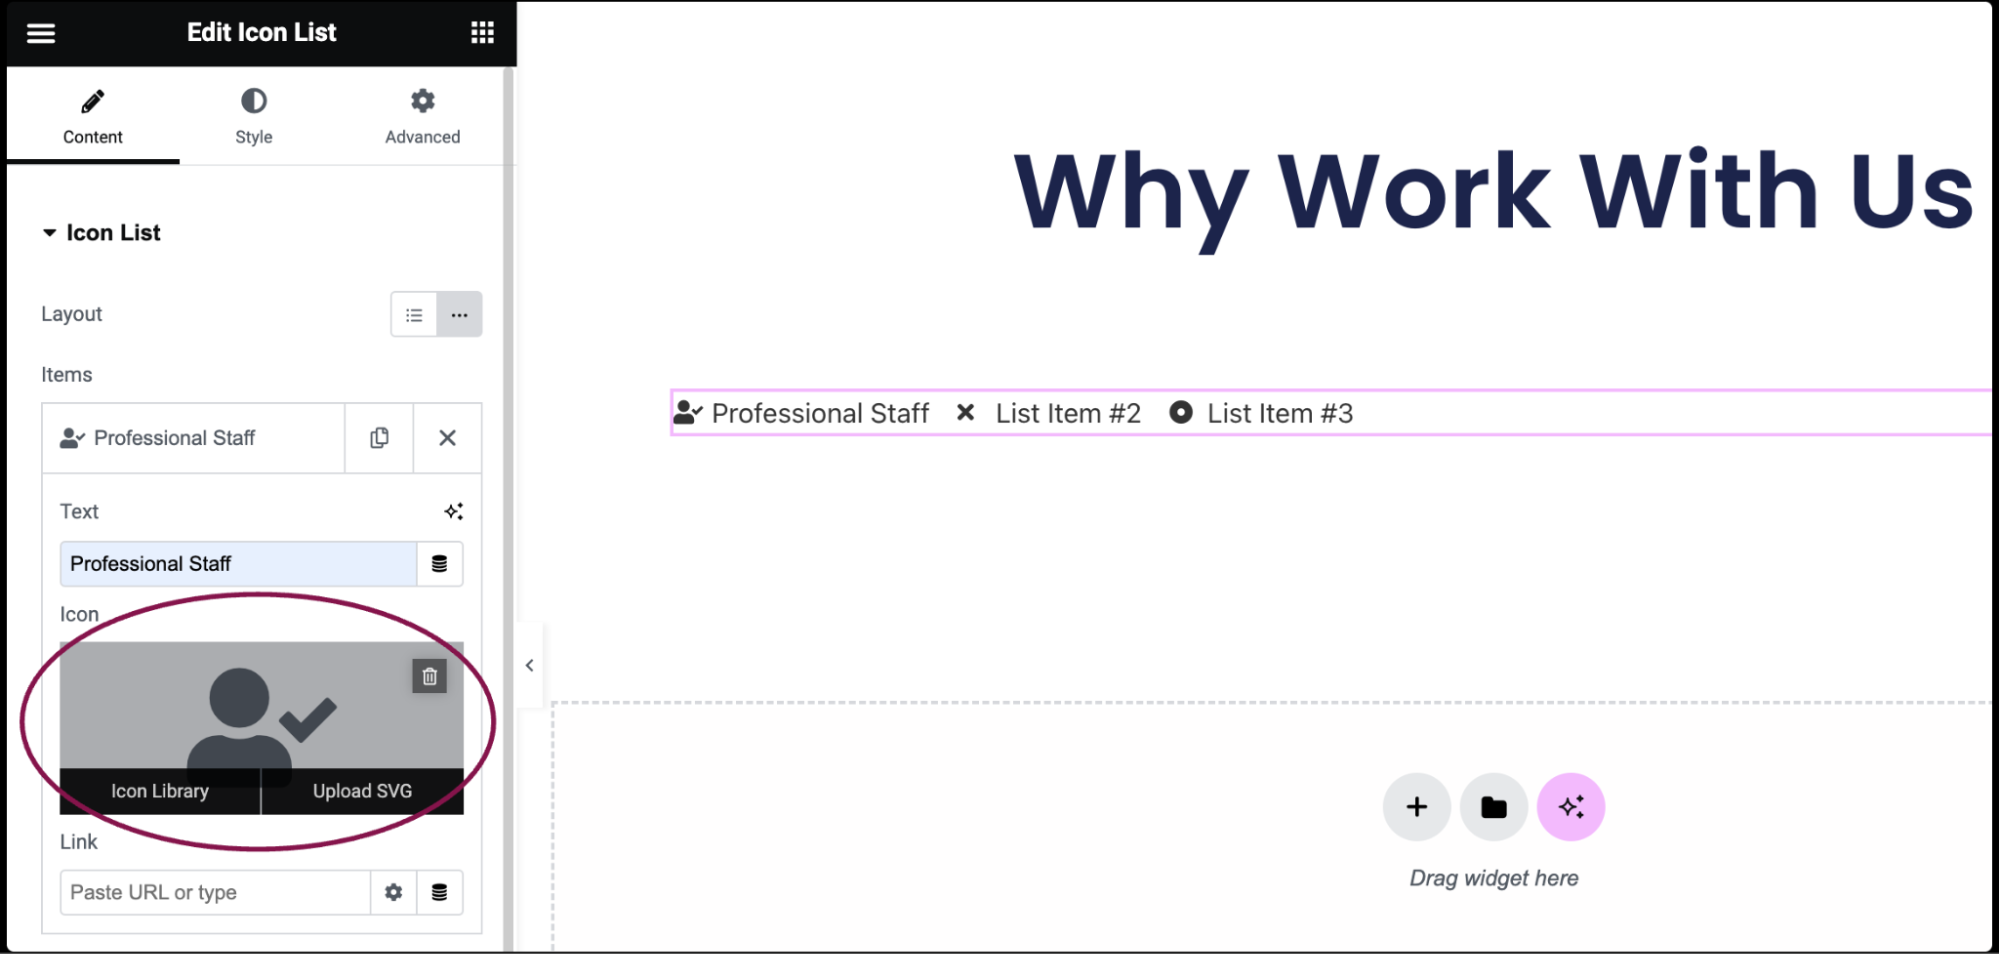
- (Optional) In the Link field, add the URL for the icon list.
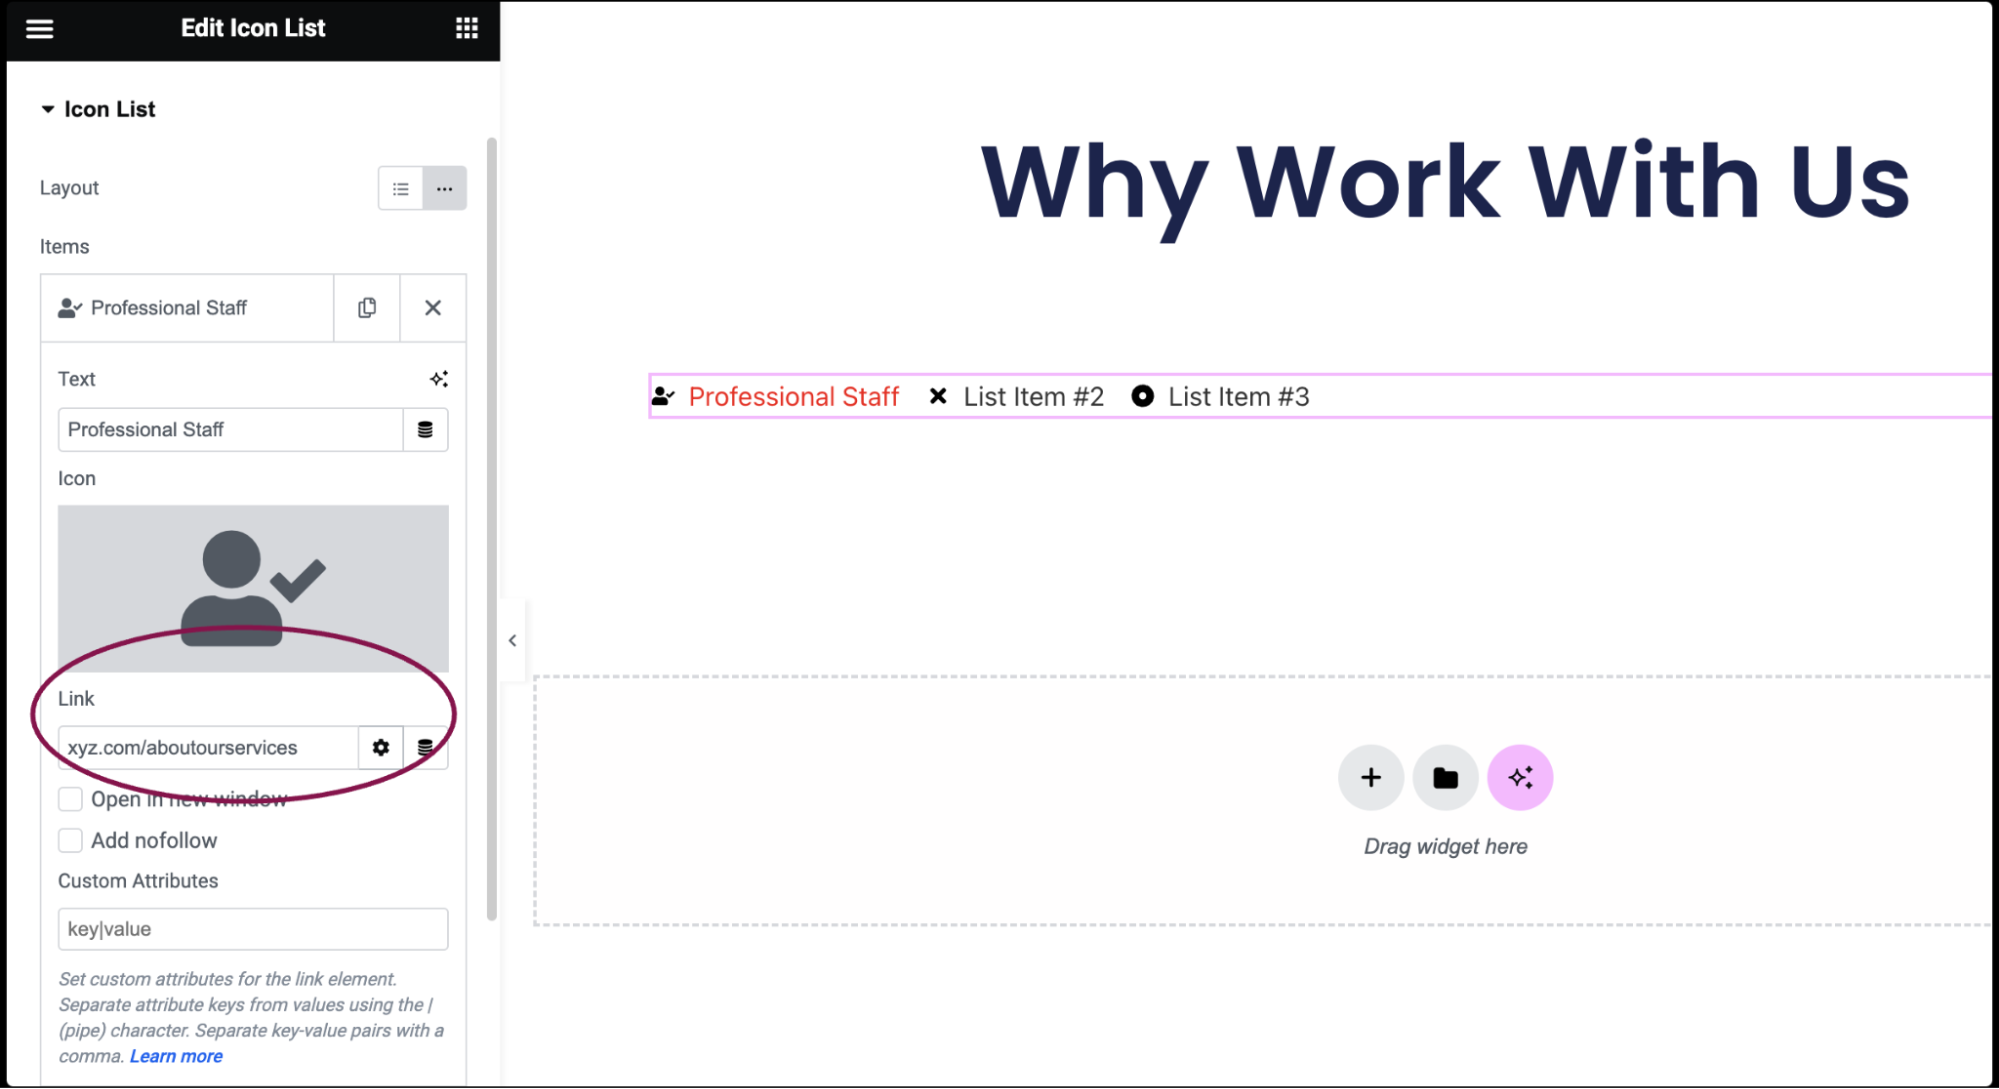
- Click the ⚙️ to set the link to either open in a new window or to add rel=nofollow to the link.
- Use the Custom Attributes option to assign custom attributes to the link element. Use the | (pipe) for key-value separation and commas to separate pairs.NoteBoth the text and the link of the Icon List items can be generated dynamically by clicking the Dynamic icon next to each and choosing the source of the data.
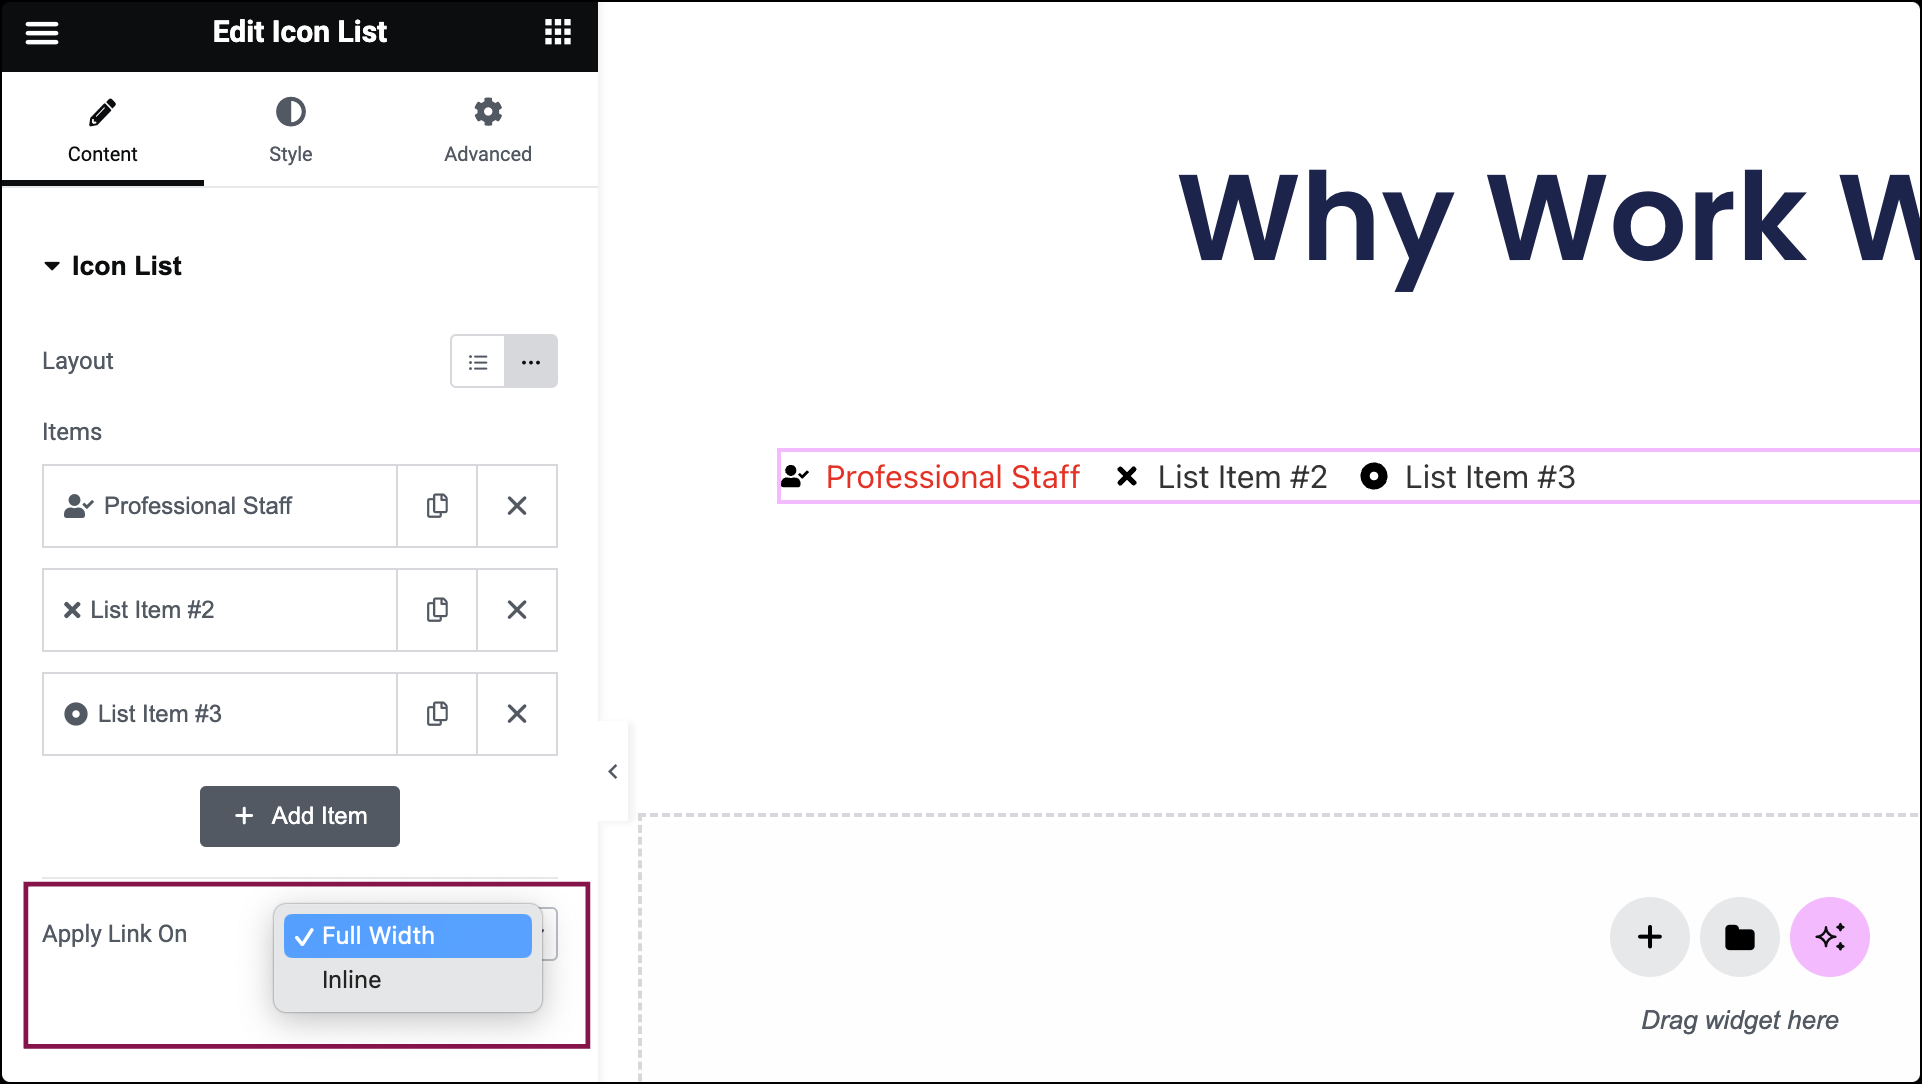
- In the Apply Link On field, specify whether you want the link to be applied as Full Width or Inline.
You can customize your widgets using content, style, and other advanced parameters, offering you great flexibility in tailoring them to your needs. Click the tabs below to see all the settings available for this widget.
Layout
Choose Default or Inline. Default displays items in a vertical list, while Inline displays items horizontally.
Items
Under the Items tab, click on the individual item to open its customization settings.
- Text: Enter the list item’s text
- Icon: Select the icon for the item
- Link: Enter the URL for the item’s link. Click the ⚙️ to set the link to either open in a new window or to add rel=nofollow to the link.
Apply Link On
Specify whether you want the link to be applied as Full Width or Inline.
Space Between
Adjusts the spacing between the items in the list.
Alignment
Determines how the list items are aligned within the widget
Divider
Enables a divider line between each item in the list.
- Style: Choose from Solid, Double, Dotted or Dashed.
- Weight: Set the thickness of the divider.
- Width: Control the width of the divider relative to the container.
- Color: Choose the divider’s color.
Color
Choose the icon’s color for Normal and Hover states.
Transition Duration
In the Hover state, you can set Transition Duration. This is the length of time it takes for the label to change its appearance.
Size
Set the exact size of the icon.
Gap
Specifies the space between the icon and the text.
Horizontal Alignment
Determines the horizontal alignment of the icons within their respective containers.
Vertical Alignment
Specifies the vertical alignment of the icons within their respective containers.
Adjust Vertical Position
Allows you to set the vertical position of the icons.
Typography
Customize the font style, size, weight, etc. Learn more about Typography.
Text Shadow
Adds a shadow effect to the text.
Color
Sets the color of the text for Normal and Hover states.
Transition Duration
In the Hover state, you can set Transition Duration. This is the length of time it takes for the label to change its appearance.
The Advanced tab provides options to control icon list position, adjust spacing, add custom code, and more.
Advanced
Learn more about the Advanced tab settings.