Add the widget to the canvas
- In Elementor Editor, click +.
All available widgets are displayed. - Click or drag the widget to the canvas. For more information, see Add elements to a page.
The Spacer widget allows you to add customizable empty spaces or gaps between different elements on your webpage. You can create a block of space anywhere on your page and then fill this block of space with a color or an image.
Further, you can use it to create cool shapes and elements as well.
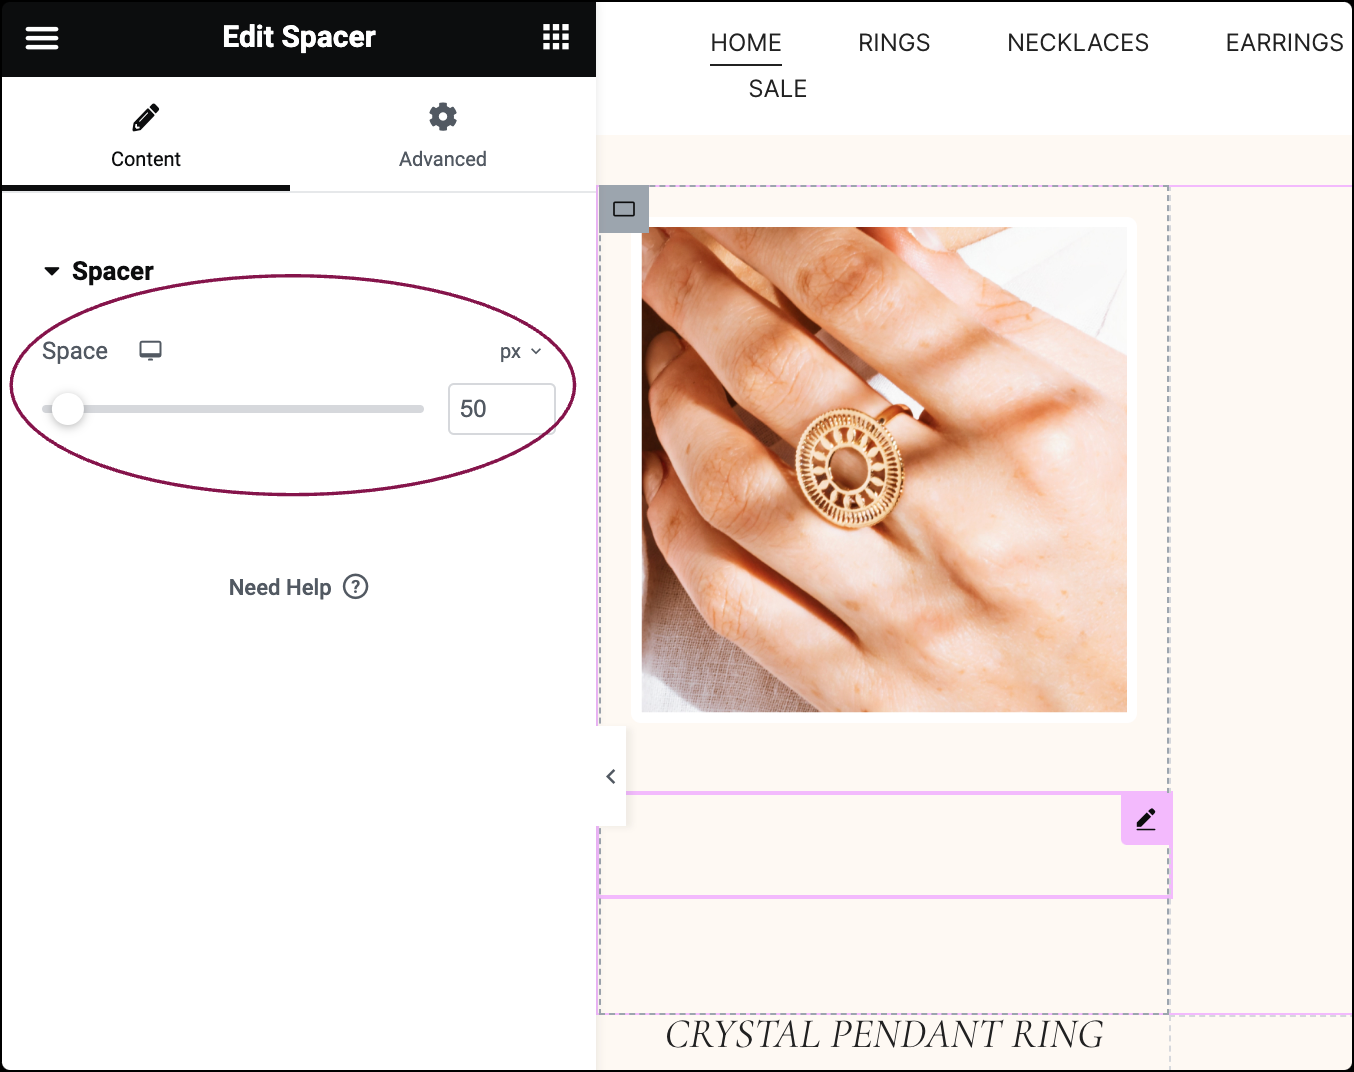
Emma is a web designer building a website for a client who wants a modern and minimalist design for their online store. In one section of the homepage, Emma wants to showcase a series of product images with text descriptions underneath each one. Emma also wants to ensure enough space between each product to create a clean and organized layout.
To create this, Emma uses the Spacer widget. After placing the product images and text descriptions on the page, they add a spacer widget between each product element. By adjusting each spacer’s height, Emma ensures consistent spacing between the products, creating a visually appealing grid layout.
For more customization, Emma enabled the Mask feature in the Spacer widget, creating interactive shapes for enhanced visual appeal and user engagement.

- Add spacing between a hero image and the main content of a webpage.
- Ensure consistent space between columns in a multi-column layout.
- Insert space between a navigation menu and the main content area of a webpage.
See a video demonstrating the widget in action.
- Add the Spacer widget to the canvas. For details, see Add elements to a page.
- In the Content tab, below the Spacer section, use the slider to set the amount of vertical space. Choose between PX, EM, REM, %, VW, or VH measurement units. For more details, see Units of measurement.

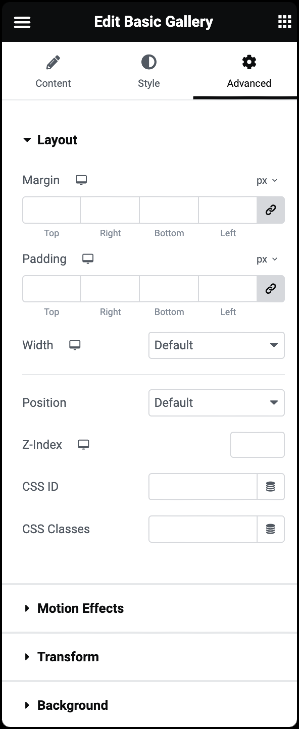
The Advanced tab provides options to control spacer widget position, adjust spacing, add custom code, and more.

Advanced
Learn more about the Advanced tab settings.